I decided to make my own shea butter mixture for styling and moisturizing. A lot of naturals swear by their own mixes over the ones you find in the store. I decided to give it a try. I followed two of my favorite YouTubers, Bronzeqt and Naptural85, and got to work in the kitchen! All of the products probably cost less than $20 and it made a lot of product. I used this over the winter when hair and skin naturally tends to be drier and I was pleased with the results! It makes my hair feel so soft!
After my leave-in conditioner of choice has been applied to clean hair, I apply the shea butter mixture and proceed to style. Although it does a great job at moisturizing, it does not give hold to my hair like it does for some people so I do not use it on twist outs and braid outs. I mainly used it in the winter time when I was doing protective styling.
The ingredients used are pure Ghana shea butter purchased from the beauty supply store, castor oil, jojoba oil, coconut oil, olive oil, and vitamin E. You can put whatever you like in yours!
The one on the right has more castor oil and coconut oil in it that gives it a more sticky pomade like texture. This one is normally used to smooth edges.
I wanted to come in and drop some inspiration on how to jazz up your natural do! Our hair speaks volumes all by itself but sometimes you may want or need that extra boost. Whether you're suffering through a bad hair day or preparing for a special evening, the right accessory can give you that extra touch. I normally find my hair accessories in the local beauty supply store, Wal-Mart, Target, or in the mall at stores like H&M and Forever 21. Some of those same stores in the mall is where I find my earrings. I'll share some pictures below to help you.

I'm going to take this time to brainstorm and right down a few goals for the upcoming year.
1. Try a few new products (Trader Joe's Nourish Spa Shampoo and Conditioner, Shea Moisture Shampoo, Conditioner and Masque)
2. Establish a regular hair regimen.
3. Set staple products. It's ok to try new things here and there but I want to have a list of go to products that work for me!
4. Fill in the thinning spots at my temples.
5. Bring back my hair's shine!
6. The very last thing on my list is length. I obviously want to see my hair grow but the healthiness of my hair is what is most important and I believe growth will come along with that.
Have you set any goals? Please share them!
Winter weather is upon us, well depending on what state you are in. Some of you may have already noticed you hair is not retaining moisture like it does in the warmer months. It's dry and absorbs any product you may apply. Here are some helpful winter tips:
1. Baggying method- Wet or dampen your hair and apply an oil of your choice. Wear a clear plastic cap overnight. Do as often as you would like.
2. Keep your ends tucked away to avoid breakage. With your ends rubbing up against your wool coat and cotton sweaters, it can cause your hair to break off. Example styles include buns, tuck and rolls, or twist your hair and simply pin it up.
3. If possible, keep your hair braided or twisted underneath a fashionable hat or beanie. This will protect your ends and the rest of your hair from the brutal cold air.
4. Weave options such as wigs, sew ins, or braids with extensions.
I must admit I am truly in Awe of this young lady. A few years ago she had thick hair flowing down her back and today...well I'll let her tell her own story.
1. What was your routine growing up?
Growing up I had really long and thick hair. It would tangle easily so I hardly ever had a chance to really wear it down. I found it really difficult to manage my hair texture in tight curly form. It was impossible for me to detangle it on my own as a teenager I would often coax my grandmother or mother to press my hair with a hot comb to get it straight. I would shampoo and condition it, followed by blow drying (not a good look after blow drying, think Whoopi Goldberg). This is when I would beg from someone to press it with the hot comb. I LOVED my hair straight at that age. My hair was midway down my back and I wanted to show it off on a regular basis, so I opted for a relaxer.
2. When did you get your first relaxer?
I relaxed my hair for the first time in 8th grade (European Desire). I will never forget how excited I was to get the relaxer and be able to wear my hair straight all the time. This the first time I didn't have trouble detangling my own hair without a pile of hair on the floor.
3. How often did you get a relaxer?
I generally got a relaxer every 6 weeks or so. Sometimes if funds were low I would stretch it to 8 weeks. I was displeased with the appearance of the new growth that I really tried to stay on top of it as often as I could.
4. When did you get the "itch" to go natural?
I first considered going natural a few years ago for just a short time. I never really got too far with taking any serious steps though. My excuse for not going through with it was not wanting to pay the up charge my stylist charged for a press and curl. So I continued pretty happily with my relaxer until last Spring. In the spring of 2010, my hairline in the front thinned dramatically. It may have been due to a number of factors. At the time I was in my final quarter of my master's degree, working, not eating well, house hunting, and just stressed in general. I received a relaxer in April and my hair did not do well with it at all. I had no scabs or burns to the scalp but it was pretty clear that my latest relaxer had done a number on my hairline. Despite this devastating event,I continued to relax, with much hesitancy. My last relaxer was January 2011. In March of 2011, I decided once and for all I was done with relaxers. My hairline was still very thin and brittle and I knew it would not get better while continuing to relax so often. I had so many friends that were already natural so I decided I could do it too.
5. Why the big chop?
I transitioned from January to November of 2011 then I did the big chop. During the transition, I did micros twice during the summer and 1 sew in in early fall. As I mentioned before, my hairline is now REALLY thin, so I didn't feel like braids were a great long term solution during my transition. The sew in seemed to have caused less tension on my hairline but both options were kind of costly, so definitely not my ideal situation. After the sew in, I just decided wash and flat iron my hair at home, which actually didn't look too bad. The biggest challenge was the frequency in which I had to do it. I was washing and flat ironing at least 2x per week because of how often I was working out. Major dilemma! So while working out one day with a lady that happens to be natural AND a hairstylist, she suggested I big chop. I initially thought I would never look nice with a really short style, but she definitely planted a seed. I started searching Google, YouTube, and various blogs about teeny weenie afros and big chops and felt very curious. I made an appointment with my own hairstylist to share my thoughts. She gave me complete encouragement to move forward with my big chop. At the time, I had a little over 3 inches of natural hair so I felt confidant I could do the big chop. I told myself that before my birthday in December, I would schedule the appointment. On November 2,2011, I chopped! I was completely terrified and actually didn't know whether I liked the new style for the first few hours. After playing around with it that evening, it started to grow on me.
6. What is your current routine? (include products)
Unfortunately, my current daily routine takes about 45 mins :( I am still trying to figure out how to manage my curls. For the last week, I have either been washing/co-washing in the morning followed by Aveeno Nourish +Condition leave-in treatment ( don't know how well it actually works but it smells great!) Im using a combination of Taliah Waajid curly curl cream and regular ecostyler gel for better curl definition. I section my hair into small section and apply the curl cream and gel and work the product from root to end. I separate small strand of hair and wrap around my finger to really make my curls pop. My curl definition in the back is pretty good but the front of my hair is a very different story. I am using perm rods on the front to achieve curls. I spray on some glosser for sheen...and 45 mins later, I'm finally done. I'm hoping the more and more I play around with it, that I can shorten the length of time to 20 minutes.
7. What's next? Do you have any goals?
I would love to try some twist sets. No real definitive goals at this point, I'm still trying to figure out what to do with what I have.
8. Any words of encouragement or anything else you want to share?
Go for it! Don't be afraid. You can dress up your natural hair with hats, accessories, make up,etc . Don't get too caught up with wanting your curl pattern to be a certain way or like someone else's...just see what you are working with and WORK IT :)

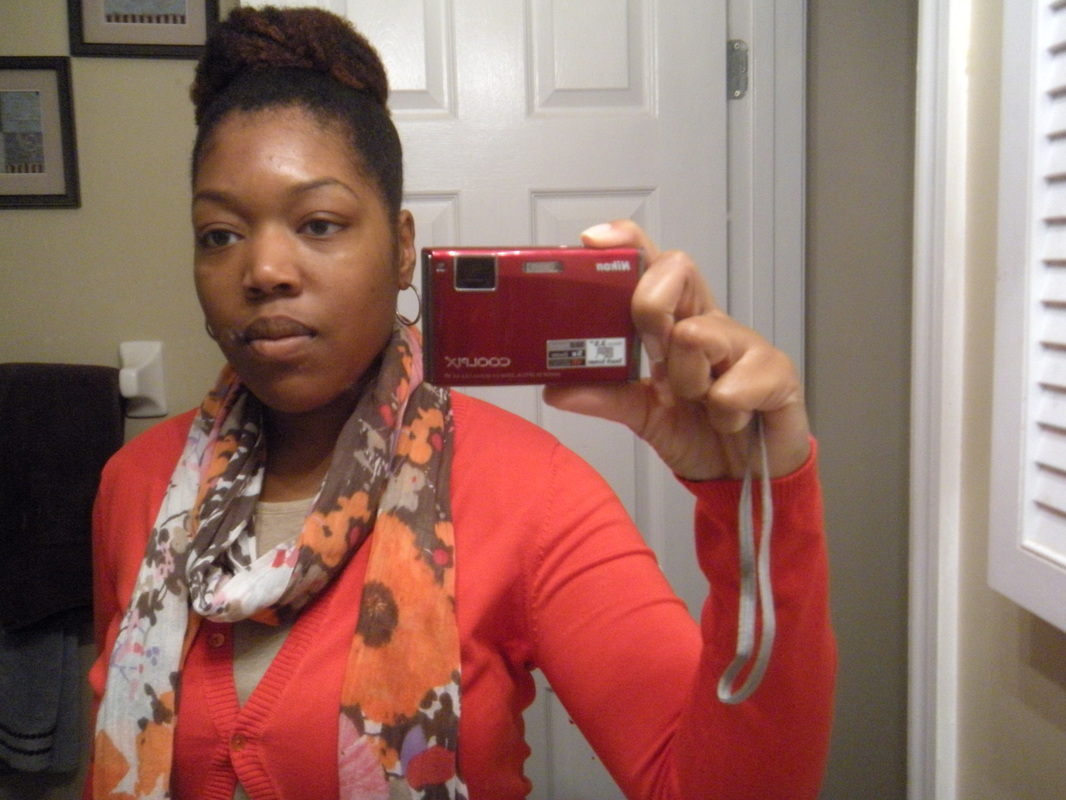
Before picture/Relaxed hair. It looks really good Ashley.

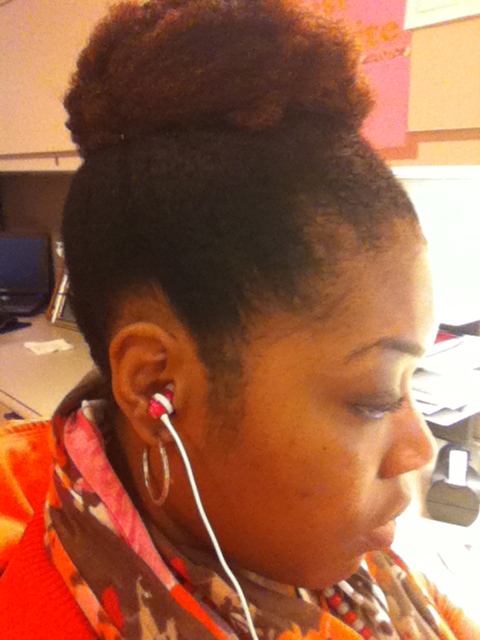
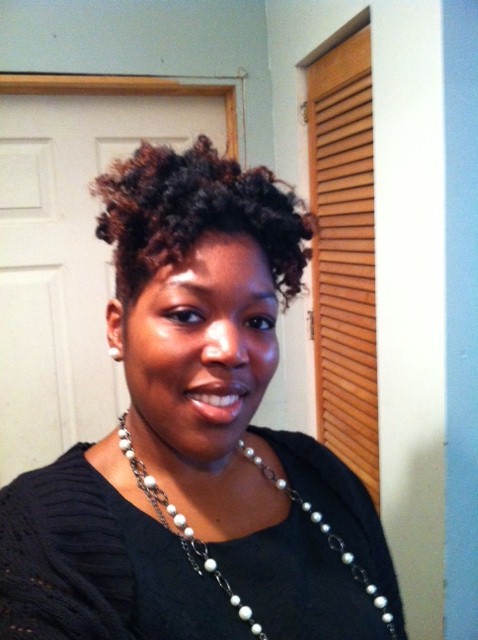
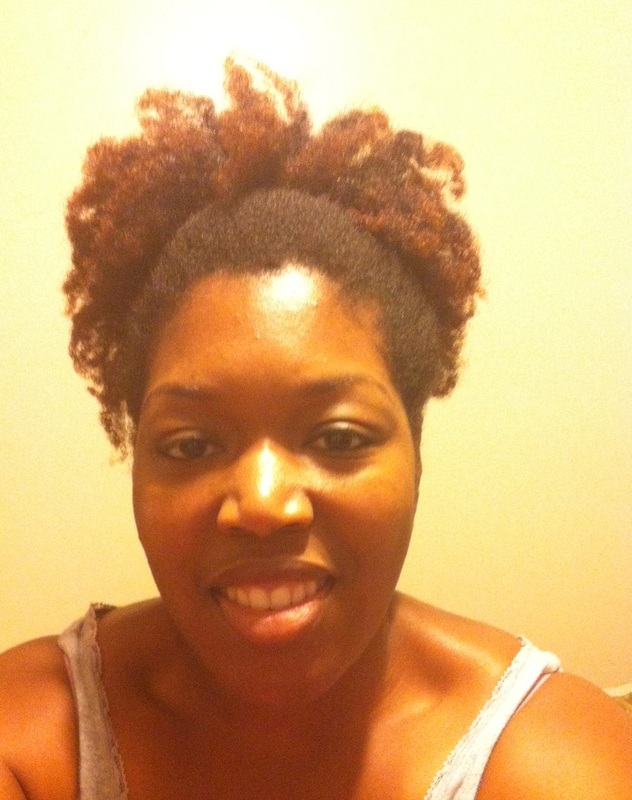
Post Big Chop Picture...and she went and got a nose ring to go with the new DO! Love it! Work it girl!
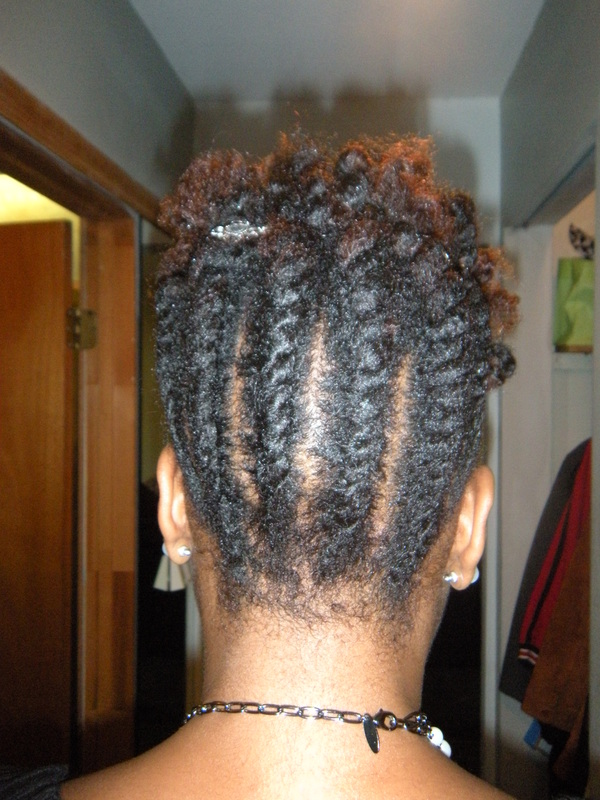
Ok I just wanted to come back to you with the results of my henna. I will make a separate post on the details of how I do it. I wanted to henna because the color in my hair was fading and overall it looked dull. Remember, henna is just a tint. In most cases it will not give you a vivid color change. I have done 2 henna sessions and my hair is so much softer and the color is more vibrant. I will post a before and after picture. The picture on the left is my hair in mini twists before the henna. The picture on the right is my hair in finger coils after 2 sessions. Take a look!
A few weeks ago, my week old braid out was on its last leg. With one day to go until my wash day, I decided to try a bun. It wasn't supposed to be a style but it turned out to be a hit! I didn't even know I had enough hair for a bun!
How-to:
1. Pull hair up into puff with a good band or head tie.
2. Gel and tie up the sides and back.
3. Take pieces of the left out hair and pin until a bun starts to form.
1. Start with freshly washed/co washed hair. Apply leave in conditioner.
2. Make a horseshoe part at the top of your head from temple to temple. Tie this top portion of your hair away for a later time.
3. Apply styling agent to the rest of your hair.
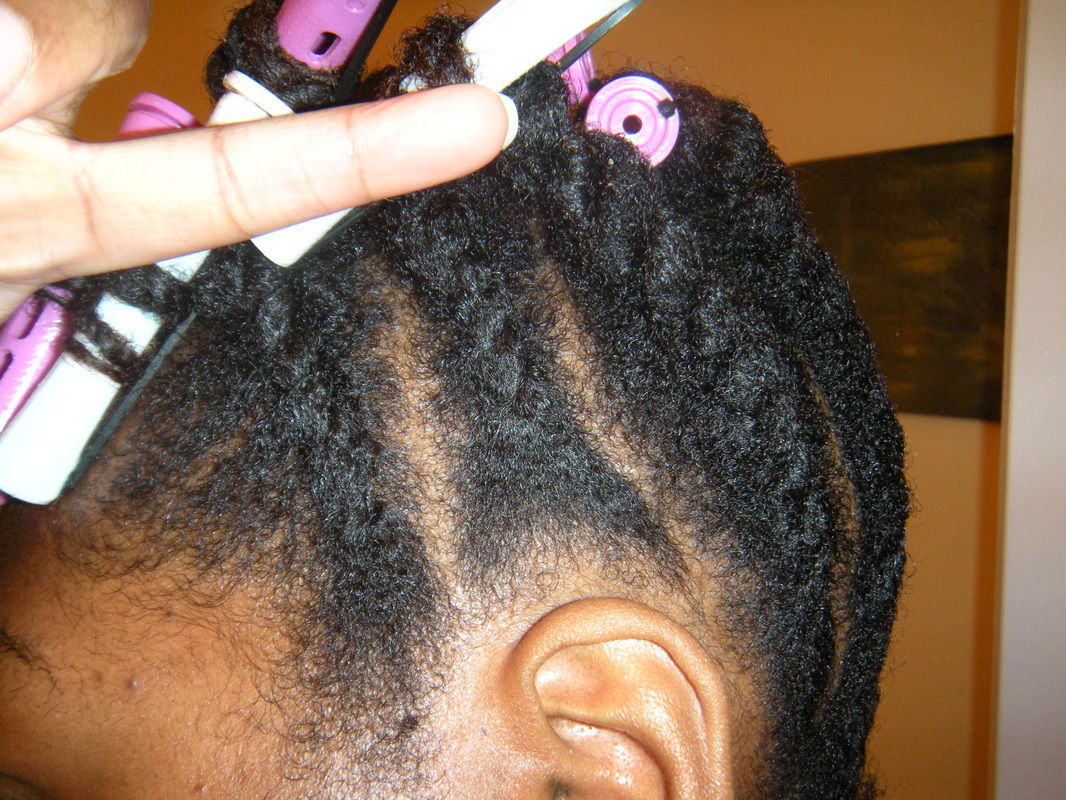
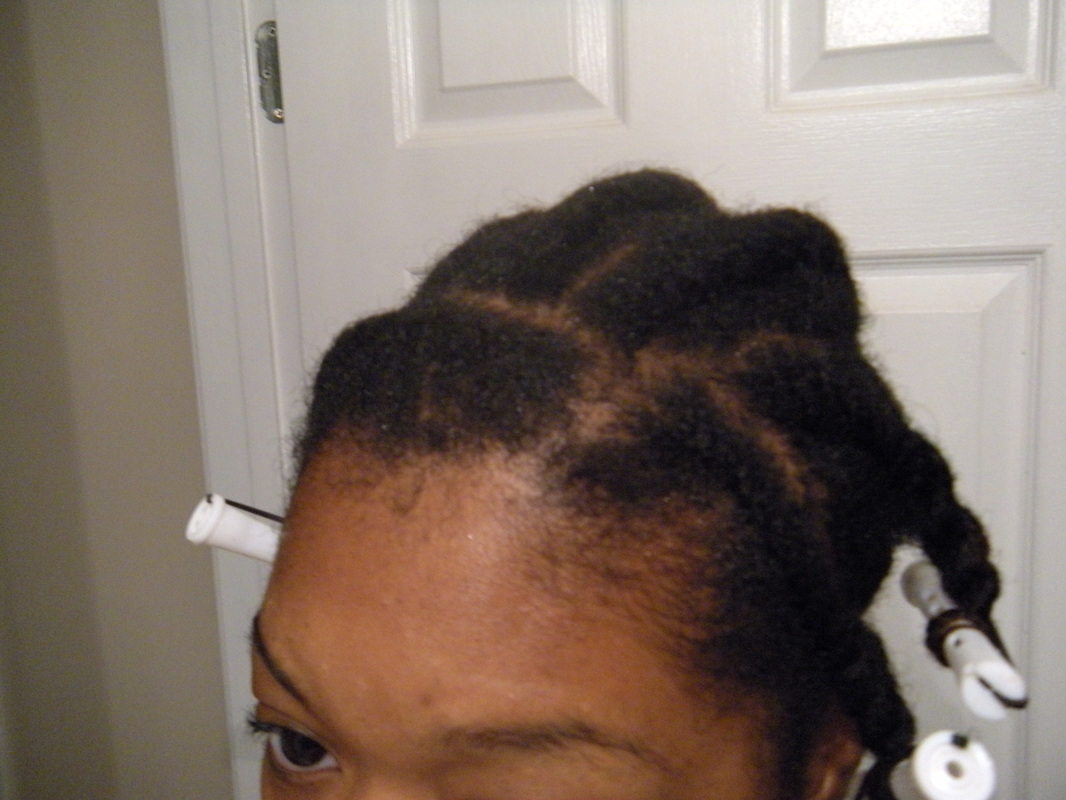
4. Flat twist up the sides and back.
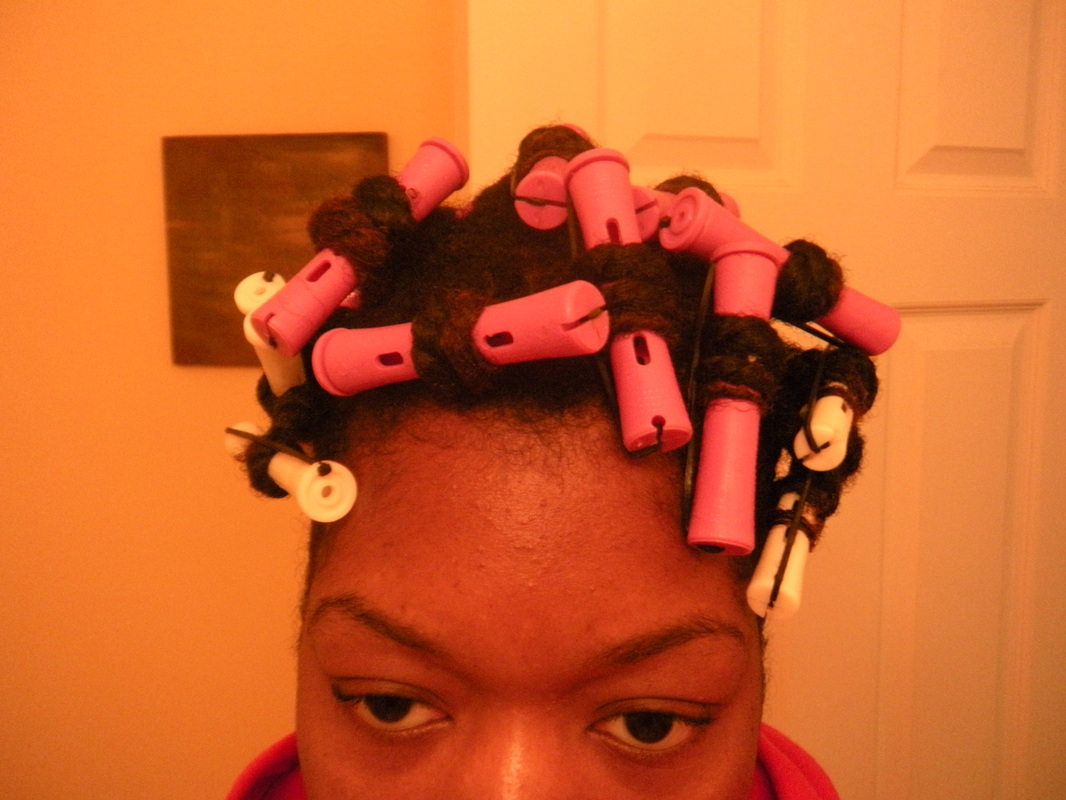
5. Put perm rod on the ends of the twists.
6. Apply styling agent to the top section of hair.
7. Section, two strand twist and apply perm rod to top section of hair.
8.Tie up the back and sides of hair.
9. Allow hair to completely dry.
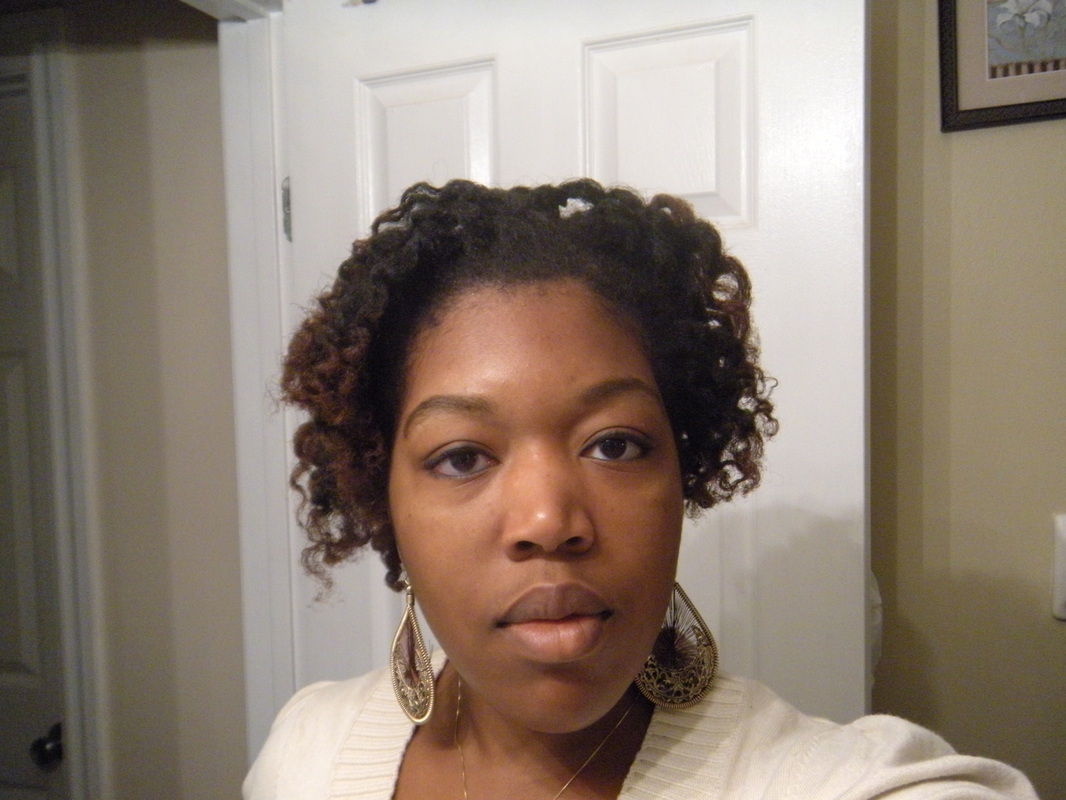
10. Unroll and separate as desired.
It's not that type of puff puff chillin'! Snapped a pic while lounging around. I look like side show Bob (The Simpsons) especially with my red tips but it was such an easy and fun look.
1. Grab a loosened Goody band or any head band and place it around your neck.
2. Push it up against your tresses.
3. Enjoy your PUFF PUFF pass. :)
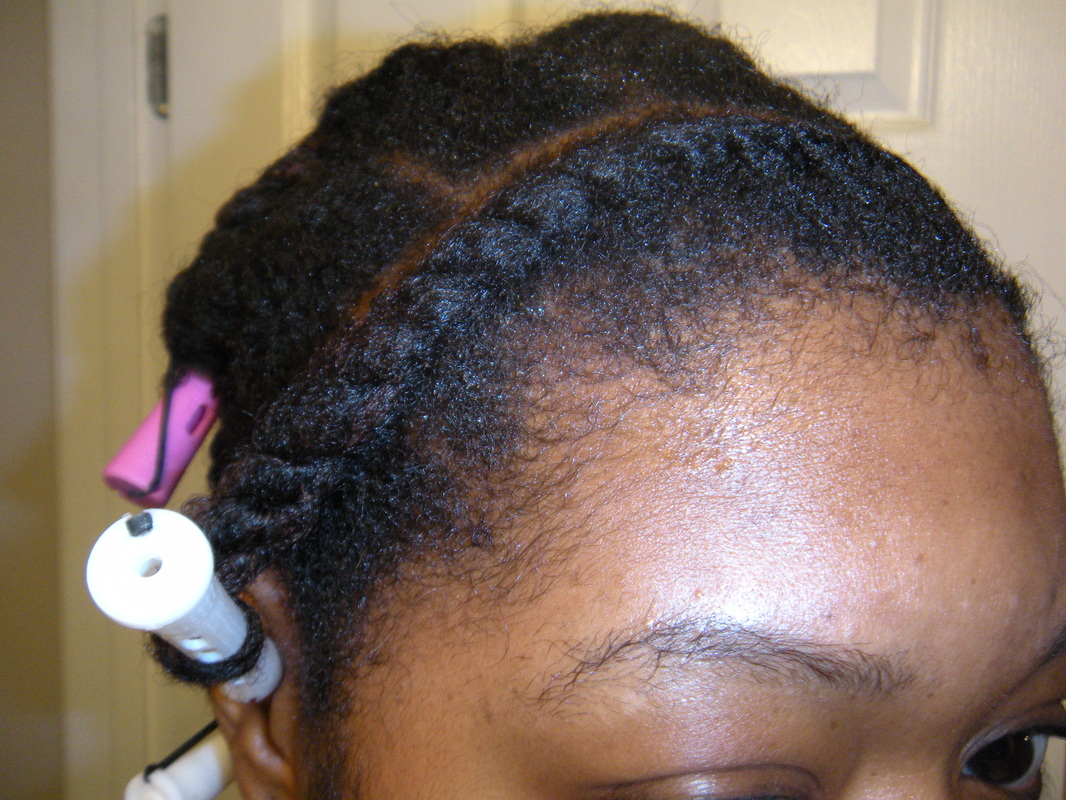
My new favorite hair style....I don't have the best video equipment to record video instructions so I will stick to pictorials for now. I'll try to post pictorial's more often.
1.I start wiht freshly washed or co-washed hair and apply a leave in conditioner.
2.Part hair (most times using my fingers instead of a comb), apply small amount of styling agent to each parted section, and twist. I part the front of my hair in the direction I want the end product to go. If you don't know how to flat twist, there are tons of YouTube videos out there to guide you. The more twists the more defined the outcome.
3.Apply roller to the end. This just gives it more of a curly look.
4. Leave twists in until completely dry. I normally leave mine in for a full day.


 RSS Feed